
Choosing silicone doll shoes is not simply a matter of matching an outfit to a size label. A pair can be long enough inside yet too narrow at the opening, too shallow over the toes or shaped for an ankle position the model cannot comfortably accommodate. The useful question is not just “Will it fit?” but “Can it go on, sit correctly and come off without force?”
Start with the actual foot dimensions and the model’s handling instructions. Then assess the shoe’s shape, opening and lining. Treat heels as a separate styling decision—not evidence that the doll can stand in them. This guide focuses on choosing and checking footwear, rather than prescribing a universal shoe size or standing setup.
Before Buying Silicone Doll Shoes, Record the Foot Dimensions
Body height is not a reliable shoe-size chart. Two models of similar height can have different feet, and a familiar human shoe size does not establish compatibility with either one.
Ask for the measurements of the exact body you own or intend to order. If measuring at home, keep the doll supported in a position allowed by its care instructions. Do not stand it up just to follow a human footwear-measuring tutorial.
- Length: the straight distance from the back of the heel to the longest toe, not a measurement following the curve over the foot.
- Width: the distance across the widest part of the forefoot, without squeezing the silicone.
- Shape: note a broad toe area, prominent instep or other feature that could make a narrow opening difficult.
- For boots: check the ankle and calf dimensions at the heights the boot will cover.
Keep a short measurement note and clear photographs for future comparisons. For the rest of the outfit, the silicone doll clothing size guide covers garment measurements separately.
Read What the Size Chart Actually Measures
“Foot length,” “insole length” and the number printed beside “CM” are not necessarily interchangeable. For example, Nike’s official women’s footwear chart explicitly distinguishes its CM box and label sizing from measured foot length. That is a useful reminder to read a chart’s definitions, not a recommendation that Nike shoes will fit a particular doll.
When a listing gives a length, establish whether it describes the intended wearer’s foot or the shoe’s interior. An outsole measurement is not the usable space inside. A removable insole may offer a reference, but its outline alone does not reveal how much room remains beneath the upper.
A pointed shoe illustrates the problem: some of its length may extend beyond the space that a broad toe shape can occupy. Ordering a longer version does not necessarily solve the width or depth mismatch. Avoid a blanket “one size up” rule; request the missing measurements or choose a shape you can assess more confidently.
Choose an Opening You Can Work With
The route into the shoe matters as much as the space inside it. Imagine both fitting and removal before choosing a style. A shoe that opens widely gives you more opportunity to guide the foot without dragging a tight upper over the surface.
Adjustable sandals and open styles
Look for straps that genuinely release, rather than decorative buckles attached to a fixed opening. Open styles can make toe placement and strap contact easier to see, but they are not automatically suitable. Check where buckles, strap edges and the footbed meet the foot. Tightening a strap until it leaves a groove is not a solution to a loose fit.
Closed shoes, flats and lace-up styles
Check both the toe area and the opening over the instep. Laces are useful only if loosening them meaningfully opens the shoe. A flat sole does not guarantee an accommodating shape, and a rigid heel counter can still make entry awkward.
If the toes reach the front while the heel remains outside, stop and reassess. Do not curl the toes, crush the forefoot or pull hard on the shoe to finish the fit. Do not rely on a tight pair eventually “breaking in.”
Boots and ankle-covering footwear
A boot can match foot length and still be unsuitable at the ankle, calf or entry point. Ask how far the zipper opens and whether the shaft remains narrow below it. A side photograph of the fully opened boot may answer more than a front-facing product image.
Consider removal before purchase: could you open the boot around a supported foot, or would taking it off require pulling against the leg? Do not assume a stretch shaft offers a workable route in and out.
Separate the High-Heel Look From Standing Ability
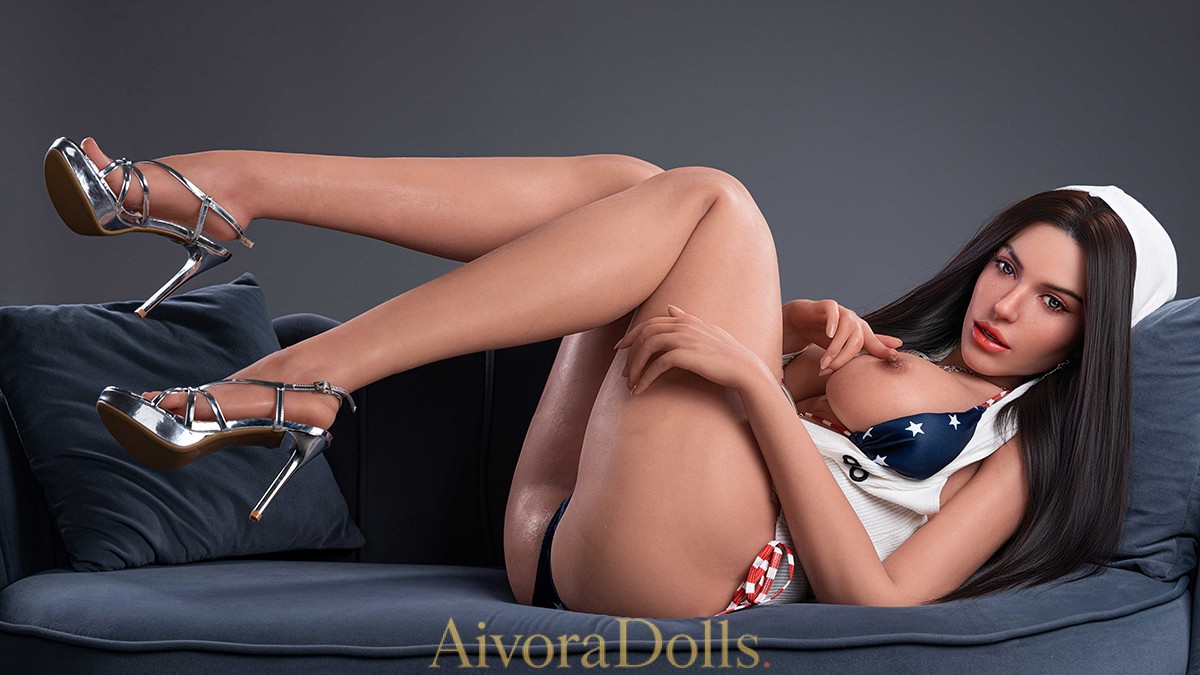
A heel changes the angle the shoe asks the foot to occupy. A platform also changes the overall shoe shape, so heel height alone cannot establish compatibility. There is no universal approved heel height for all silicone dolls.
Ask the manufacturer whether the exact foot and ankle configuration permits the intended footwear and pose. A “standing” option does not approve every shoe, and shoes cannot turn a non-standing model into one that supports standing. Do not use footwear as a brace to force an ankle angle.
For a styled photograph, a supported seated or reclining composition may achieve the desired look without using the shoes to carry the body’s weight. Follow the model’s positioning guidance and do not leave it balanced unattended.
Also separate the photograph from the purchase. Shoes pictured with a doll are not necessarily included. Confirm the supplied accessories and footwear details before ordering; a styled image is not a fitting or load-bearing demonstration.
Make the First Fitting a Check, Not a Photoshoot
Inspect the shoes before bringing them near the doll. Look inside for rough seams, exposed edges, loose grit and strongly colored lining. A pale exterior can conceal a dark interior; softness or price alone does not establish that the contact material is suitable.
Then work through a simple fitting sequence:
- Prepare the position. Support the body and leg on a clean, padded surface in accordance with the care guide. Keep the weight off the foot during fitting.
- Open the shoe fully. Release straps, laces or zippers before guiding the foot in. Keep hardware clear of the silicone.
- Check contact before fastening. Look at the toes, sides, instep and heel. Stop if the surface bunches, compresses sharply or the foot cannot settle without force.
- Fasten without pulling the foot into shape. Closures should secure a suitable fit, not compensate for an incompatible one.
- Remove and inspect. Undo the closures completely, support the foot and reverse the fitting movement gently. Check for new marks, indentations or color transfer.
There is no universal contact time that makes an unfamiliar lining safe. If you notice a change, remove the footwear rather than continuing the session. Document it and consult the care provider before trying cleaners or stain treatments. Do not assume a mark will disappear on its own.
If the manufacturer recommends a protective sock or barrier, allow for its thickness when assessing fit. A barrier does not make a tight shoe suitable or guarantee against dye transfer. Do not add powders, oils or sprays simply to force an easier fit.
When a Pair Almost Fits, Change the Shoe—not the Foot
Enough length, difficult entry: look for a wider opening or a more accessible closure. Extra length may leave the original problem untouched.
Easy entry, compressed toes: reassess the toe-box shape and depth. A pointed silhouette may be the wrong match even when its nominal size appears correct.
Loose heel, tight front: treat it as a shape mismatch. Pulling a strap tighter can add pressure without creating room where it is needed.
Good fit, uncertain heel position: pause until the model-specific instructions resolve the question. An attractive shoe is not worth improvising an unsupported pose.
Once you find a suitable pair, record the exact style, size and closure design—not just the brand. Another shoe with the same printed size may be built differently. Recheck the lining and fasteners before each use, and follow the model’s storage guidance rather than leaving fitted footwear on indefinitely.
The best silicone doll shoes complete the styling without making handling harder. Prioritize a compatible shape, an opening you can control and a fit that does not require pressure or force. The finished photograph should be the last consideration, after those practical details are settled.

